Introduction
If you’ve ever craved the mouthwatering combination of juicy burgers, crispy bacon, and gooey cheese, then Bacon Cheeseburger Bombs are bound to steal your heart. Imagine gathering around the kitchen with family or friends, the aroma of these delightful treats wafting through the air, tempting everyone to indulge in that first bite. This recipe is not just about food; it’s about creating memories, sharing laughter, and enjoying a moment of togetherness that transcends the ordinary.
These Bacon Cheeseburger Bombs are perfect for game nights, casual get-togethers, or even a simple weeknight dinner. Each bite delivers a burst of flavors that can turn even the simplest occasions into special celebrations. Whether you’re a seasoned cook or just starting out in the kitchen, this recipe invites you to experience the joy of cooking while indulging in something truly delicious. Get ready for an exciting culinary adventure that promises to bring smiles and satisfaction to everyone at the table.
Detailed Ingredients
- 1 pound of ground beef
- 8 slices of bacon, cooked and crumbled
- 1 cup of shredded cheddar cheese
- 1 can of refrigerated biscuit dough
- 1 tablespoon of Worcestershire sauce
- 1 teaspoon of garlic powder
- Salt and pepper to taste
- 1 egg, beaten (for egg wash)
- Optional toppings: sesame seeds, diced onions, or pickles
Preparation Time
- Prep Time: 20 minutes
- Cook Time: 15 minutes
- Total Time: 35 minutes
- Yield: 8 servings
Detailed Directions and Instructions
Step 1: Preheat the Oven
Preheat your oven to 375°F (190°C). This ensures that the bacon cheeseburger bombs cook evenly and get crispy on the outside.
Step 2: Prepare the Ground Beef
In a skillet over medium heat, cook the ground beef until fully browned, breaking it apart as it cooks. Drain any excess grease.
Step 3: Add Seasoning
Once the beef is browned, season it with salt, pepper, and any other desired spices. Mix well to incorporate the flavors.
Step 4: Mix in Cheese and Bacon
Remove the skillet from heat and stir in the cheese and cooked bacon. Combine thoroughly until all ingredients are well distributed.
Step 5: Roll Out the Dough
On a floured surface, roll out the dough into a large rectangle. Ensure it’s thick enough to hold the filling without tearing.
Step 6: Cut the Dough
Cut the rolled dough into squares, approximately 4×4 inches in size, to create pockets for the filling.
Step 7: Fill the Dough
Place a generous amount of the beef mixture in the center of each square of dough.
Step 8: Seal the Bombs
Fold the corners of the dough over the filling and pinch to seal completely, ensuring no filling leaks out during baking.
Step 9: Arrange on Baking Sheet
Place the sealed bombs on a greased baking sheet, ensuring they are spaced apart to allow for expansion.
Step 10: Bake the Bombs
Bake in the preheated oven for 15-20 minutes, or until golden brown and cooked through.
Step 11: Cool and Serve
Remove from oven and let cool slightly before serving. Enjoy while warm for the best flavor and texture.
Variations to Try
If you want to experiment with flavors, consider adding different types of cheese, such as pepper jack for a spicy kick or mozzarella for a gooey texture. You can also incorporate different meats, like sausage or turkey, based on your preferences.
Perfect Pairings
Bacon cheeseburger bombs pair wonderfully with a variety of dips and sides. Consider serving them with classic condiments like ketchup and mustard, or try zesty BBQ sauce for an added flavor punch. A fresh green salad or crispy fries can also complement this dish nicely.
Leftover Storage Tips
If you have leftover bacon cheeseburger bombs, store them in an airtight container in the refrigerator for up to three days. To reheat, bake in a 350°F (175°C) oven for about 10 minutes, or until heated through, to maintain their crispy exterior.
Cook techniques
Preparing the Dough
To create the base for the bacon cheeseburger bombs, roll out the dough to maintain uniform thickness. This ensures even cooking and a perfect puff when baked.
Cooking the Bacon
Precook the bacon until it’s slightly crispy. This not only intensifies the flavor but also helps reduce excess grease, which can make the filling soggy.
Assembling the Bombs
When assembling, take care to seal the edges tightly. This prevents the filling from leaking out during the baking process and ensures each bite is packed with flavor.
Baking to Perfection
Bake the bombs until they are golden brown and puffed up. Watching them closely towards the end will help achieve that desirable crispness without burning.
FAQ
Can I use a different type of cracker?
Yes, feel free to experiment with various types of crackers for different flavors and textures; just ensure they can hold up during baking.
How can I make these bombs vegetarian?
You can substitute the bacon with a meat alternative like tempeh or mushrooms, and use plant-based cheese for a vegetarian option.
Can I prepare these in advance?
Absolutely! You can assemble the bombs and refrigerate them before baking. Just add a few extra minutes to the baking time if they are coming directly from the fridge.
What dipping sauces pair well with these bombs?
Classic dipping sauces like ketchup, mustard, or barbecue sauce complement the flavors beautifully. You can also try ranch or a spicy mayo for added zest.
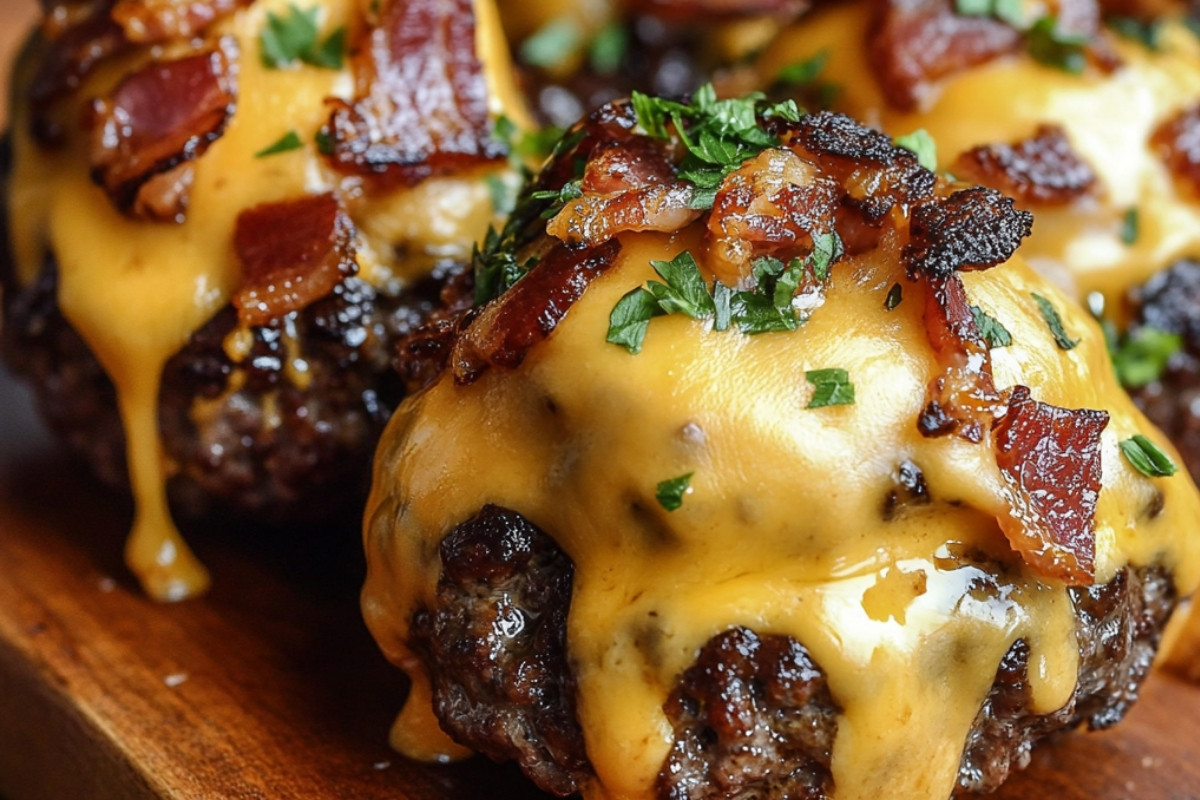
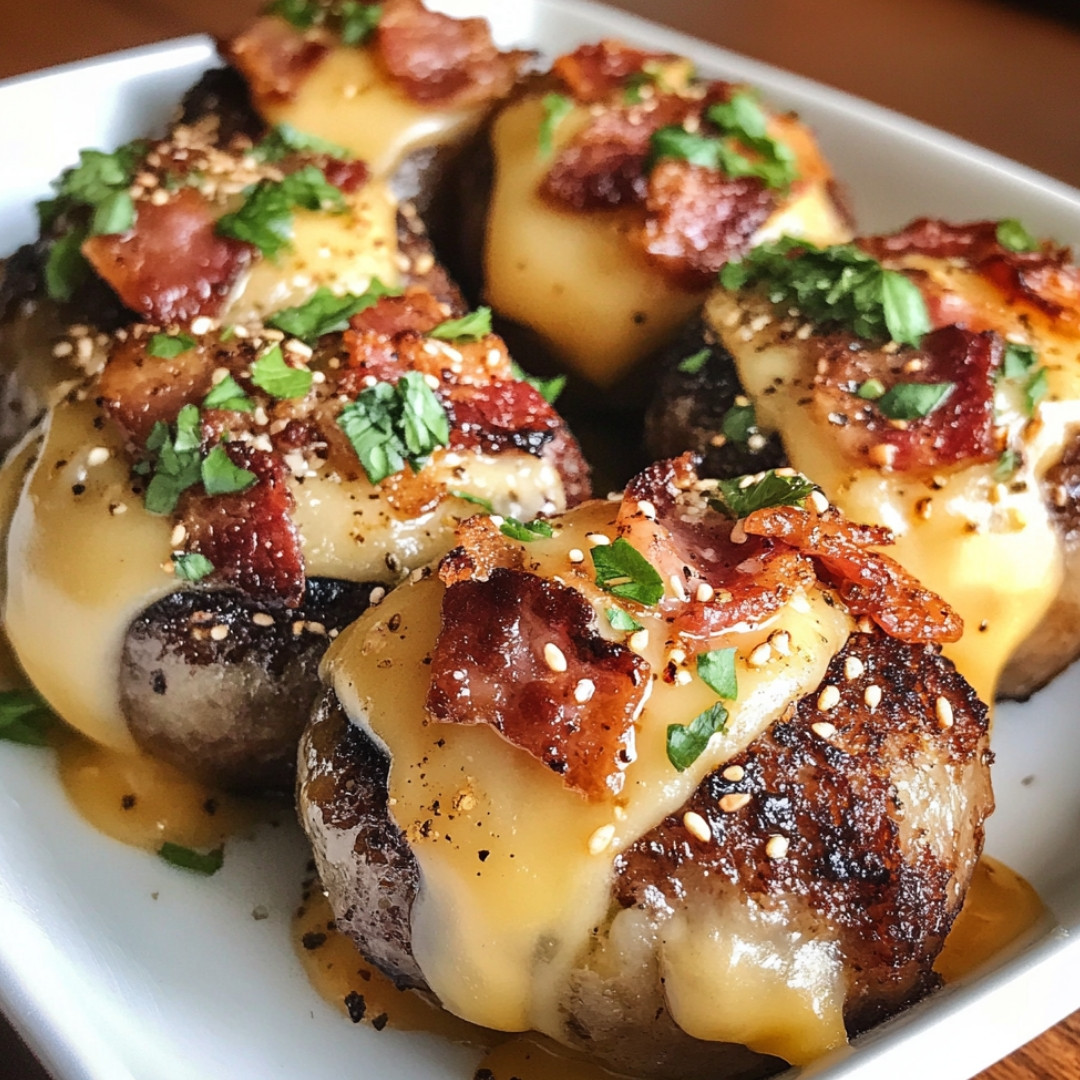
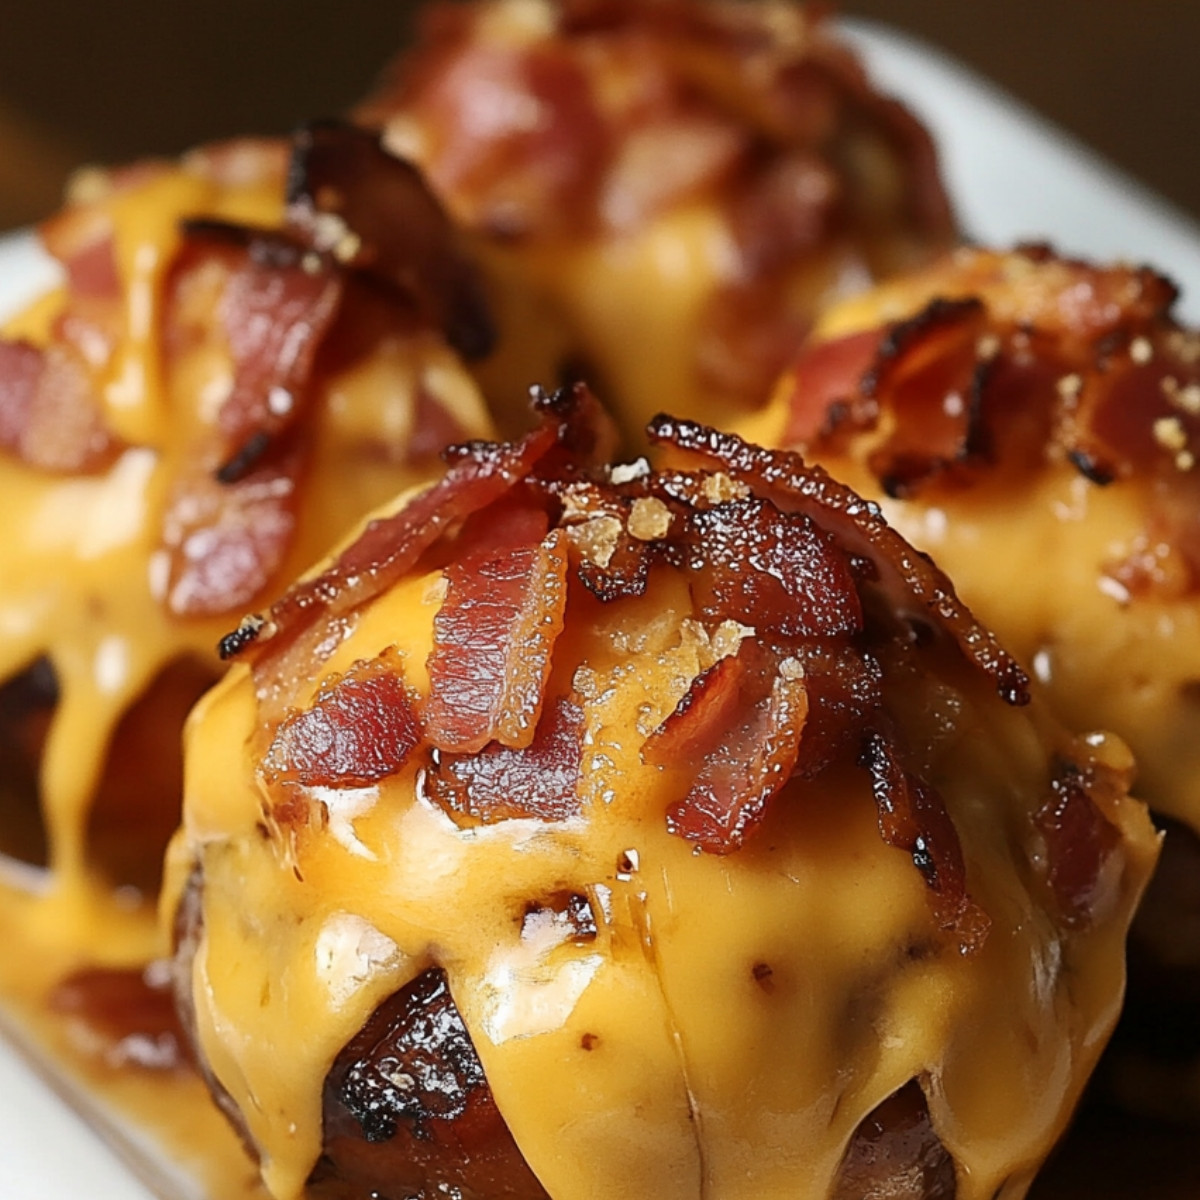
Serving and Presentation Ideas
To serve the bacon cheeseburger bombs, arrange them on a rustic wooden platter for a casual gathering, or use a slate board for a more elegant touch. Garnish with fresh herbs like parsley or chives for a pop of color. Pair them with a fresh salad or vegetable sticks for balance, and don’t forget to provide a selection of dipping sauces to elevate the experience.
Conclusion
These bacon cheeseburger bombs are not just a game-day snack; they are an invitation to gather with friends and family, to enjoy laughter and delicious food. Each bite is a delightful explosion of flavors that brings comfort and joy. We hope you find as much pleasure in making these as you will in sharing them. Have you tried any creative twists on this recipe? We would love to hear about your experiences and any variations you’ve made!
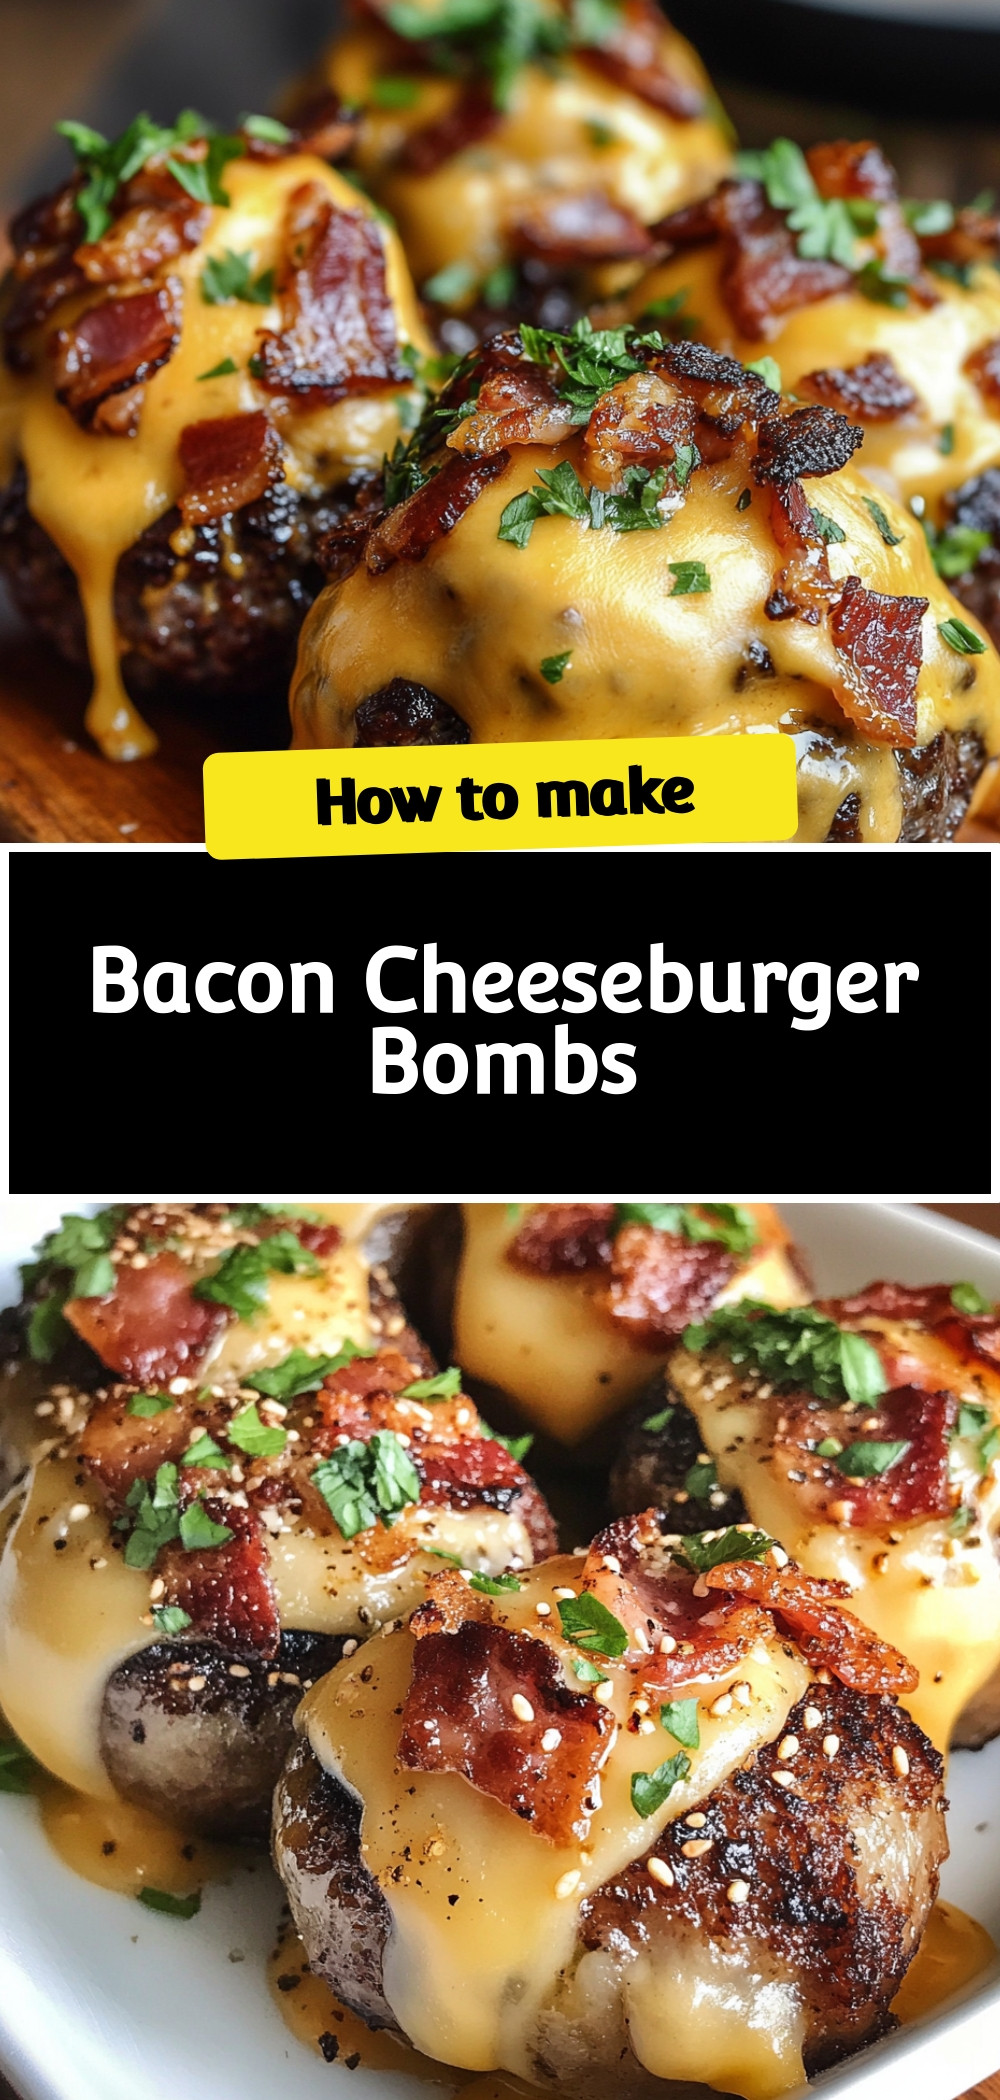
Bacon Cheeseburger Bombs

If you’ve ever craved the mouthwatering combination of juicy burgers, crispy bacon, and gooey cheese, then Bacon Cheeseburger Bombs are bound to steal your heart. Imagine gathering around the kitchen with family or friends, the aroma of these delightful treats wafting through the air, tempting everyone to indulge in that first bite. This recipe is not just about food; it’s about creating memories, sharing laughter, and enjoying a moment of togetherness that transcends the ordinary.
- Prep Time: 20 minutes
- Cook Time: 15 minutes
- Total Time: 35 minutes
- Yield: 8 servings 1x
Ingredients
- 1 pound of ground beef
- 8 slices of bacon, cooked and crumbled
- 1 cup of shredded cheddar cheese
- 1 can of refrigerated biscuit dough
- 1 tablespoon of Worcestershire sauce
- 1 teaspoon of garlic powder
- Salt and pepper to taste
- 1 egg, beaten (for egg wash)
- Optional toppings: sesame seeds, diced onions, or pickles
Instructions
Preheat your oven to 375°F (190°C). This ensures that the bacon cheeseburger bombs cook evenly and get crispy on the outside.
In a skillet over medium heat, cook the ground beef until fully browned, breaking it apart as it cooks. Drain any excess grease.
Once the beef is browned, season it with salt, pepper, and any other desired spices. Mix well to incorporate the flavors.
Remove the skillet from heat and stir in the cheese and cooked bacon. Combine thoroughly until all ingredients are well distributed.
On a floured surface, roll out the dough into a large rectangle. Ensure it’s thick enough to hold the filling without tearing.
Cut the rolled dough into squares, approximately 4×4 inches in size, to create pockets for the filling.
Place a generous amount of the beef mixture in the center of each square of dough.
Fold the corners of the dough over the filling and pinch to seal completely, ensuring no filling leaks out during baking.
Place the sealed bombs on a greased baking sheet, ensuring they are spaced apart to allow for expansion.
Bake in the preheated oven for 15-20 minutes, or until golden brown and cooked through.
Remove from oven and let cool slightly before serving. Enjoy while warm for the best flavor and texture.