Introduction
The following article outlines a delicious recipe that will surely satisfy your taste buds. With a blend of savory ingredients and easy preparation, this dish is perfect for any occasion. Let’s dive into the details!
Detailed Ingredients with measures
- 2 cups of all-purpose flour
- 1 cup of sugar
- 1/2 cup of unsalted butter, softened
- 1 cup of milk
- 2 large eggs
- 2 teaspoons of baking powder
- 1 teaspoon of vanilla extract
- 1/2 teaspoon of salt
Preparation Time
- Prep Time: 15 minutes
- Cook Time: 25 minutes
- Total Time: 40 minutes
- Yield: Serves 8
Detailed Directions and Instructions
Step 1: Prepare Your Ingredients
Begin by gathering all necessary ingredients and tools. Ensure you have everything measured and ready to go to streamline the cooking process.
Step 2: Preheat the Oven
Preheat your oven to the specified temperature. This will ensure that your dish cooks evenly once it’s placed inside.
Step 3: Mix Dry Ingredients
In a large bowl, combine all dry ingredients. Whisk them together to ensure even distribution and remove any lumps.
Step 4: Combine Wet Ingredients
In a separate bowl, mix all wet ingredients until well blended. This ensures that flavors are combined before adding to the dry mixture.
Step 5: Combine Wet and Dry Mixtures
Gradually add the wet mixture to the dry ingredients, stirring gently until just combined. Avoid overmixing to maintain the desired texture.
Step 6: Pour into Baking Dish
Grease your baking dish if necessary, and pour the batter evenly into it. Smooth the top with a spatula for even baking.
Step 7: Bake
Place the baking dish in the preheated oven. Set a timer for the recommended baking time and monitor the progress through the oven window.
Step 8: Test for Doneness
Use a toothpick to check if the dish is done. Insert it into the center; if it comes out clean or with a few crumbs, it’s ready.
Step 9: Cool Down
Once baked, remove from the oven and let it cool in the baking dish for a few minutes. Then transfer to a wire rack to cool completely.
Step 10: Serve and Enjoy
Once cooled, cut into portions and serve. Enjoy your creation with your choice of toppings or sides.
Notes
Note 1: Adjust Baking Times
Baking times can vary based on your oven and the altitude of your location. Always keep an eye on your dish as it bakes.
Note 2: Ingredient Substitutions
Feel free to substitute ingredients based on your dietary preferences or what you have on hand. Just be cautious of the proportions and moisture content.
Note 3: Storing Leftovers
Store any leftovers in an airtight container in the refrigerator. Enjoy within a few days for the best taste and texture.
Cook techniques
Roasting
Roasting involves cooking food evenly in an oven using dry heat. Foods such as vegetables, meats, and poultry develop a flavorful, caramelized exterior while remaining moist inside.
Sautéing
Sautéing requires cooking food quickly in a small amount of oil or butter over medium to high heat. This technique is ideal for vegetables and small cuts of meat.
Braising
Braising combines both dry and wet cooking methods. It starts with browning the food in fat, followed by slow cooking in a covered pot with liquid, resulting in tender, flavorful dishes.
Steaming
Steaming cooks food using steam from boiling water. It’s a healthy option that preserves nutrients, colors, and flavors, perfect for vegetables and fish.
Grilling
Grilling uses direct heat to cook food, imparting a distinct smoky flavor. Suitable for meats, vegetables, and seafood, this method is preferred for outdoor cooking.
FAQ
What is the best temperature for roasting?
The best temperature for roasting varies by food but generally ranges from 375°F to 450°F.
Can I sauté without oil?
Yes, you can sauté with water or broth as alternatives to oil, though it may alter the flavor slightly.
What cut of meat is best for braising?
Tough cuts like chuck roast, brisket, or pork shoulder are perfect for braising, as they break down and become tender during cooking.
Is steaming better than boiling?
Yes, steaming retains more nutrients and flavor compared to boiling, which can leach them into the water.
What is the difference between grilling and broiling?
Grilling involves cooking food over an open flame or heat source from below, while broiling cooks food under a heat source, usually from above.
Conclusion
Utilizing different cooking techniques can elevate your culinary skills and enhance the flavors of your dishes. Experimenting with methods like roasting, sautéing, and grilling opens up a world of delicious possibilities.
More recipes suggestions and combination
Roast chicken with seasonal vegetables
Sautéed spinach with garlic
Braised short ribs with red wine
Steamed fish with lemon and herbs
Grilled vegetable skewers
Banana Walnut Cream Cake
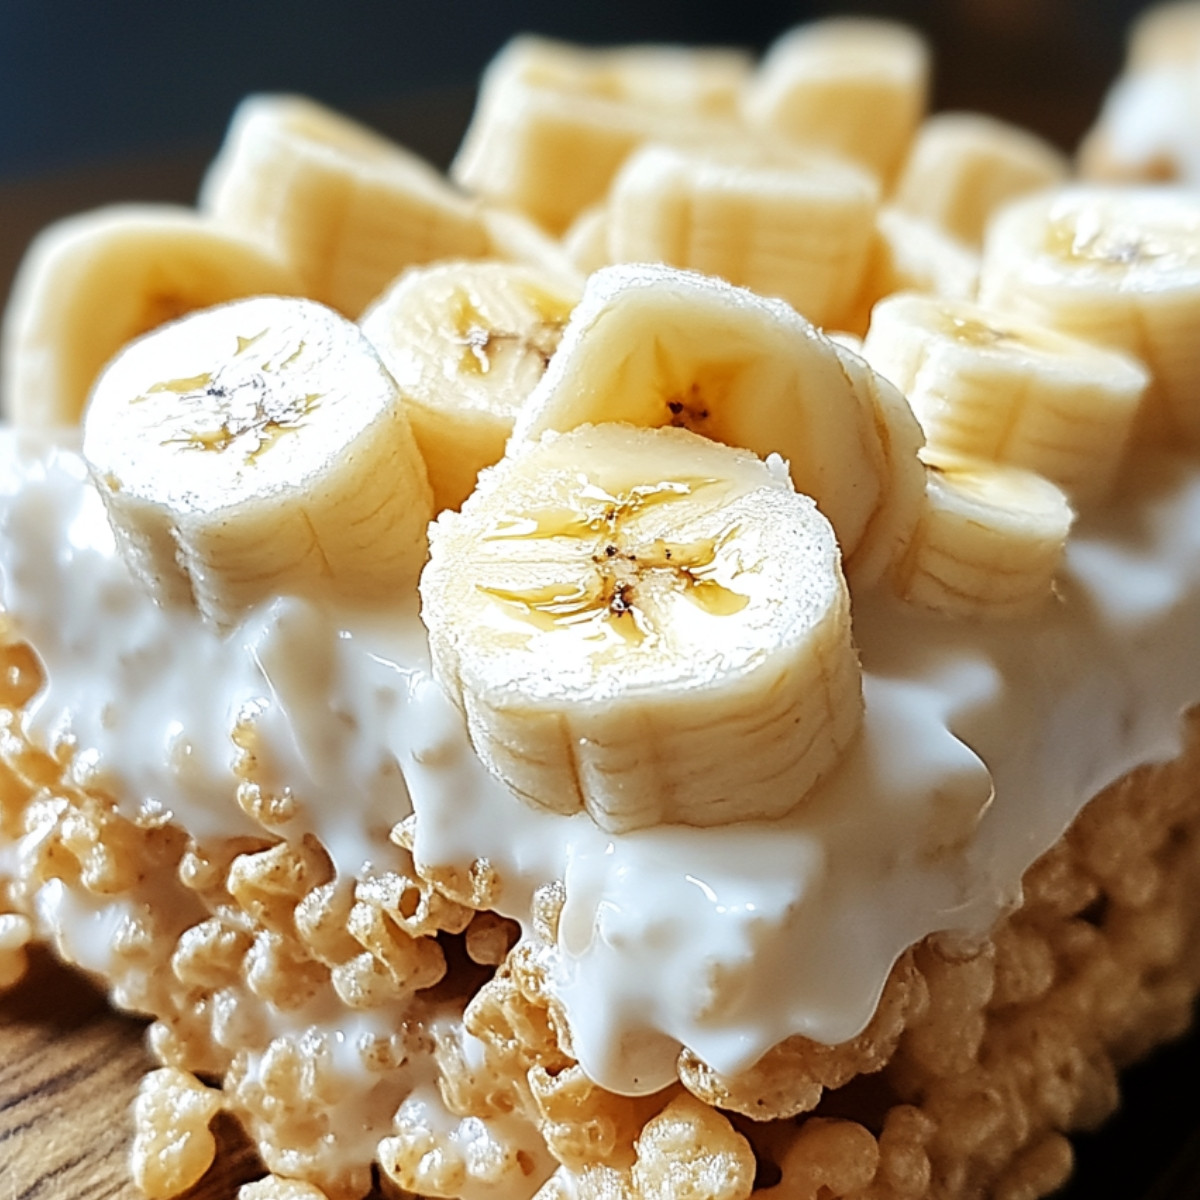
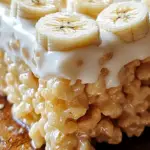
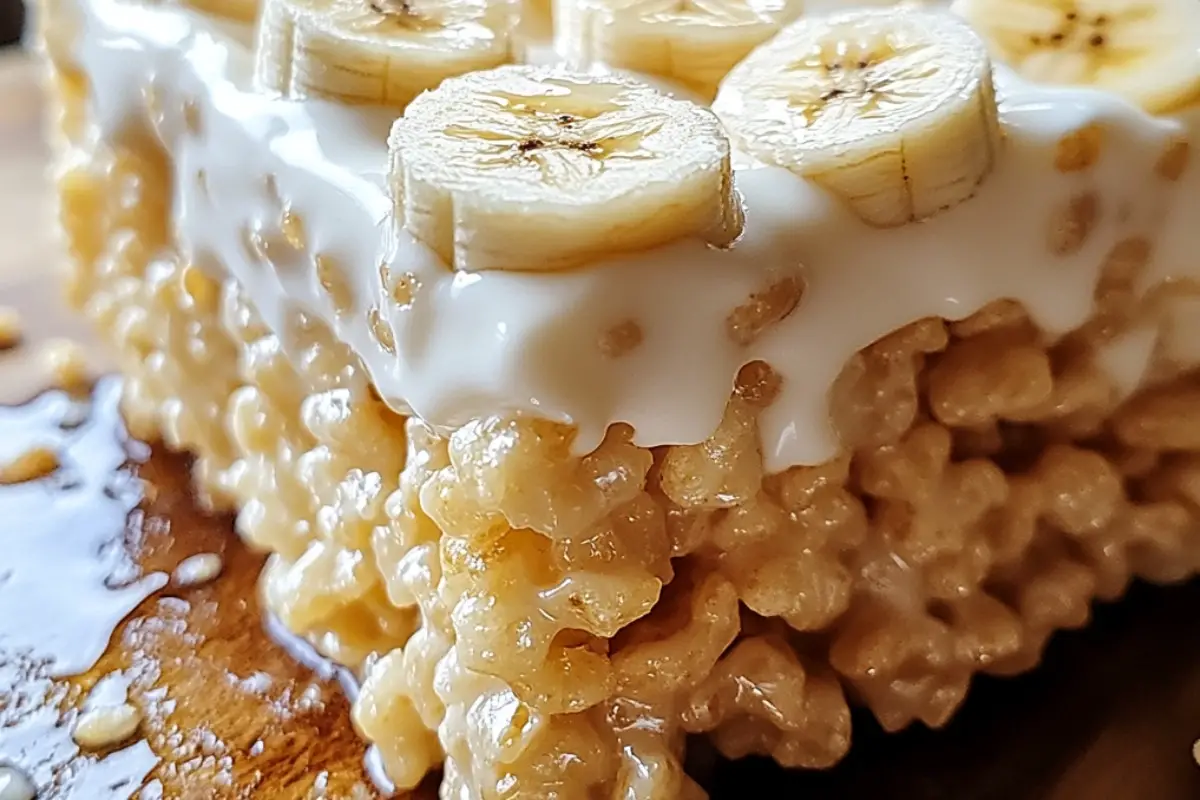
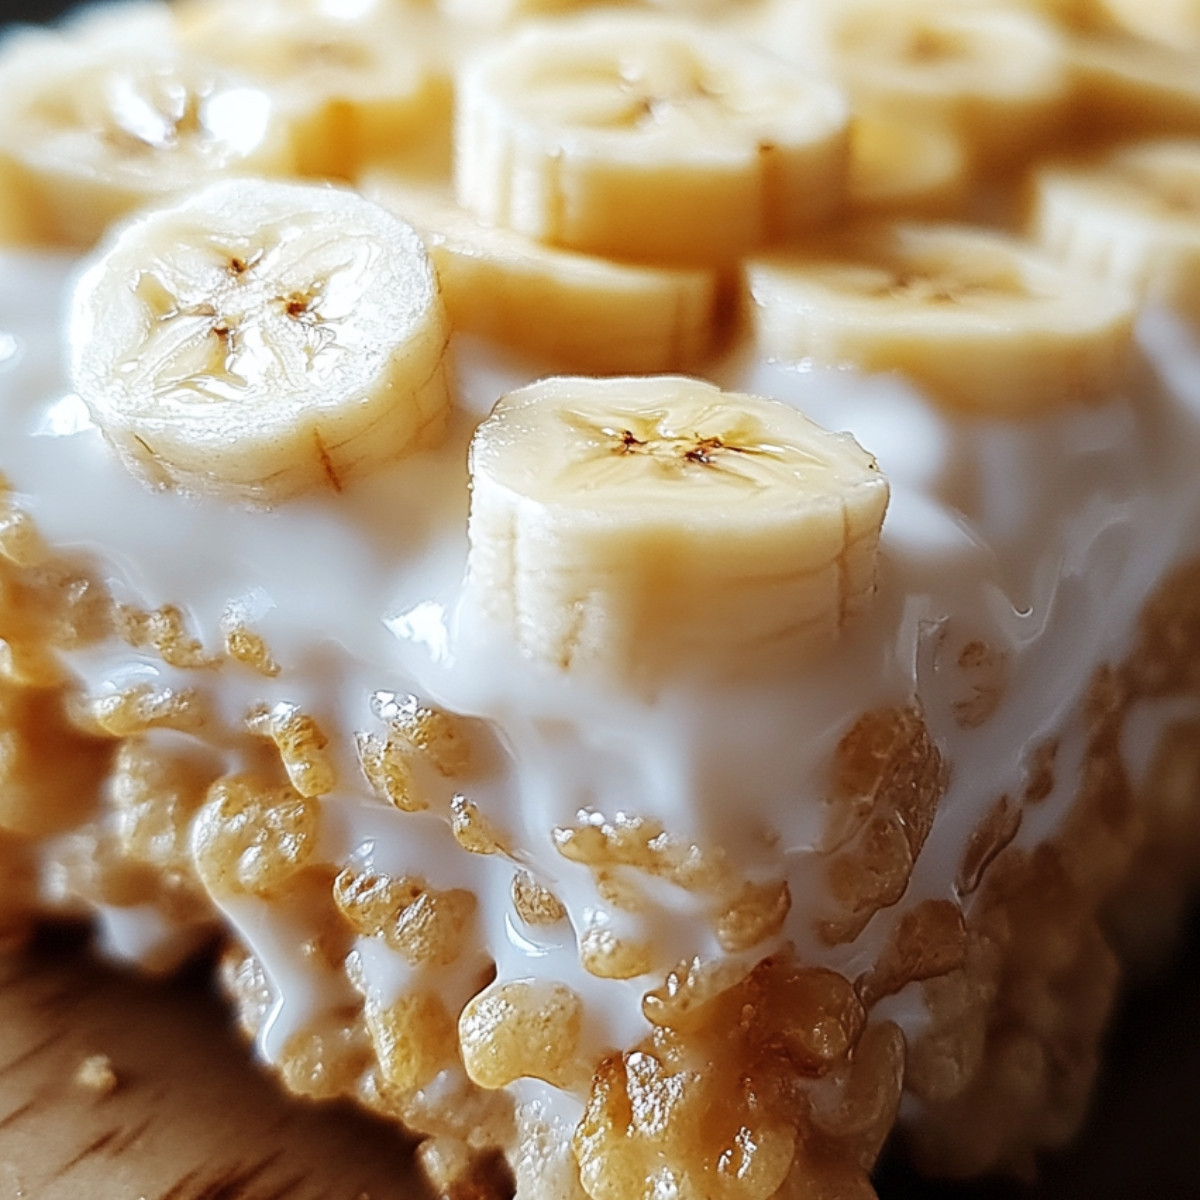
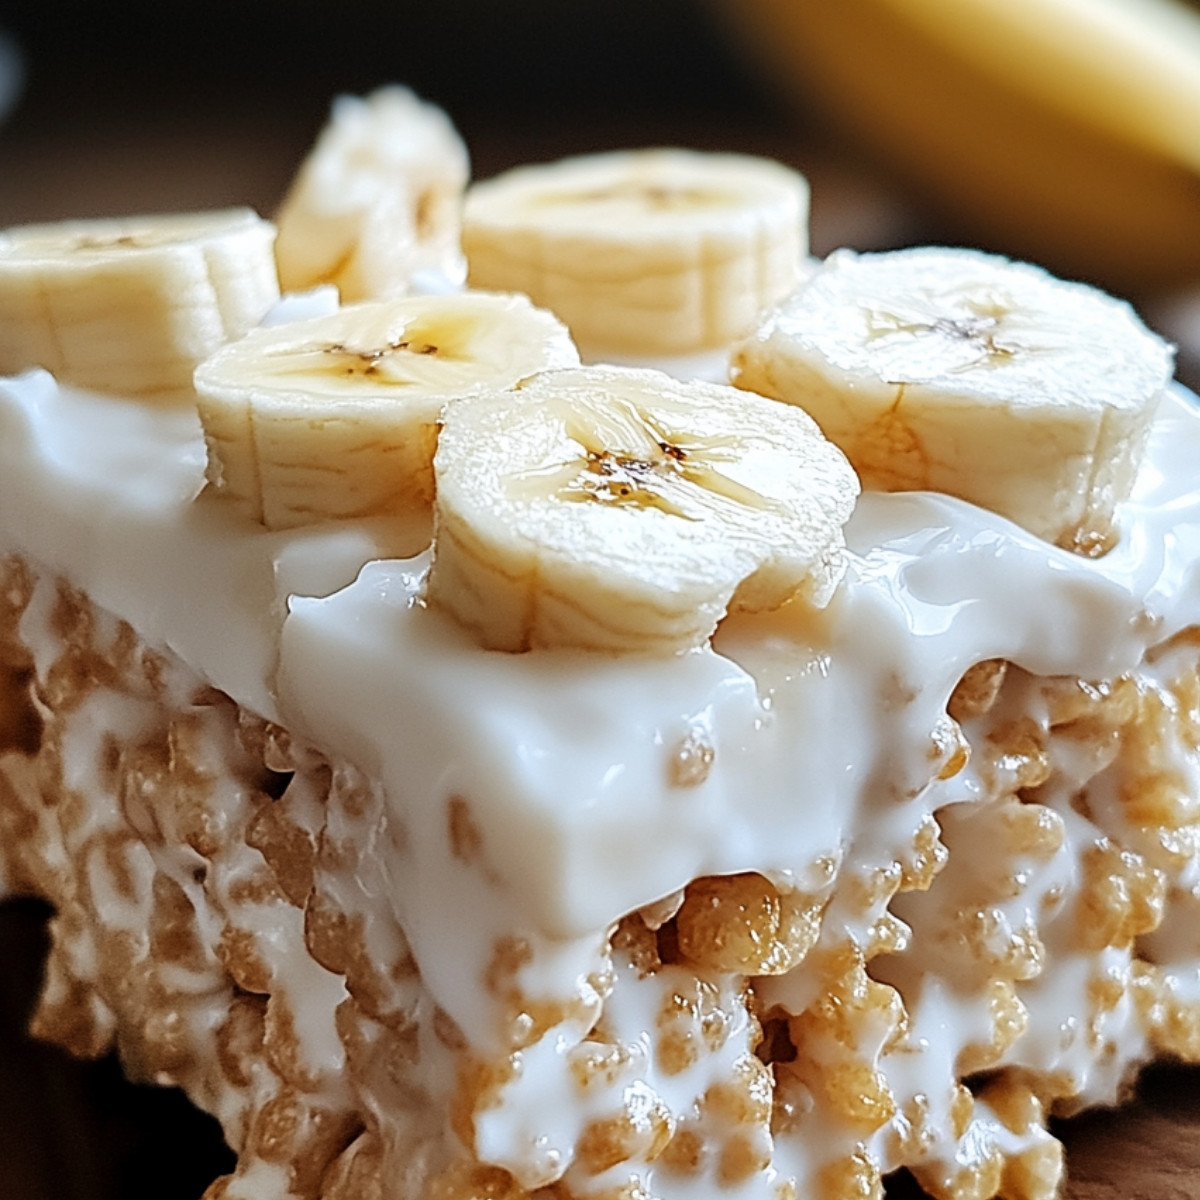
Heavenly Banana Pudding Rice Krispie Treats
- Total Time: 40 minutes
- Yield: 8 servings 1x
Description
The following article outlines a delicious recipe that will surely satisfy your taste buds. With a blend of savory ingredients and easy preparation, this dish is perfect for any occasion. Let’s dive into the details!
Ingredients
- 2 cups of all-purpose flour
- 1 cup of sugar
- 1/2 cup of unsalted butter, softened
- 1 cup of milk
- 2 large eggs
- 2 teaspoons of baking powder
- 1 teaspoon of vanilla extract
- 1/2 teaspoon of salt
Instructions
Step 1: Prepare Your Ingredients
Begin by gathering all necessary ingredients and tools. Ensure you have everything measured and ready to go to streamline the cooking process.
Step 2: Preheat the Oven
Preheat your oven to the specified temperature. This will ensure that your dish cooks evenly once it’s placed inside.
Step 3: Mix Dry Ingredients
In a large bowl, combine all dry ingredients. Whisk them together to ensure even distribution and remove any lumps.
Step 4: Combine Wet Ingredients
In a separate bowl, mix all wet ingredients until well blended. This ensures that flavors are combined before adding to the dry mixture.
Step 5: Combine Wet and Dry Mixtures
Gradually add the wet mixture to the dry ingredients, stirring gently until just combined. Avoid overmixing to maintain the desired texture.
Step 6: Pour into Baking Dish
Grease your baking dish if necessary, and pour the batter evenly into it. Smooth the top with a spatula for even baking.
Step 7: Bake
Place the baking dish in the preheated oven. Set a timer for the recommended baking time and monitor the progress through the oven window.
Step 8: Test for Doneness
Use a toothpick to check if the dish is done. Insert it into the center; if it comes out clean or with a few crumbs, it’s ready.
Step 9: Cool Down
Once baked, remove from the oven and let it cool in the baking dish for a few minutes. Then transfer to a wire rack to cool completely.
Step 10: Serve and Enjoy
Once cooled, cut into portions and serve. Enjoy your creation with your choice of toppings or sides.
Notes
Note 1: Adjust Baking Times
Baking times can vary based on your oven and the altitude of your location. Always keep an eye on your dish as it bakes.
Note 2: Ingredient Substitutions
Feel free to substitute ingredients based on your dietary preferences or what you have on hand. Just be cautious of the proportions and moisture content.
Note 3: Storing Leftovers
Store any leftovers in an airtight container in the refrigerator. Enjoy within a few days for the best taste and texture.
- Prep Time: 15 minutes
- Cook Time: 25 minutes